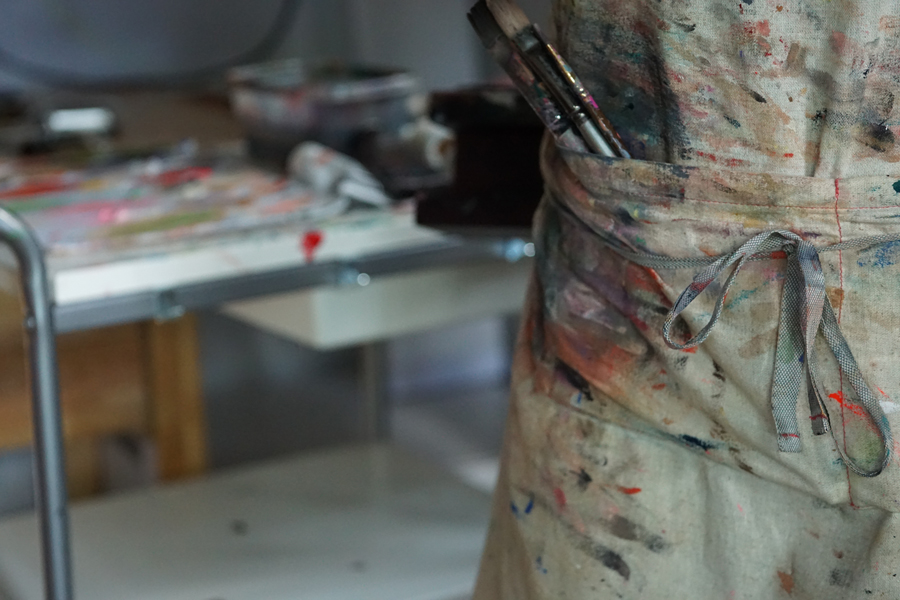
STUDIO
Before my husband and I met, he purchased plans from Southern Living with the intention of building a storage shed. However, after seeing my talent and love for art, he decided to convert his plans for a storage shed into a backyard art studio. My studio is truly one-of-a-kind and we worked together to create a space made with equal parts inspiration and function.
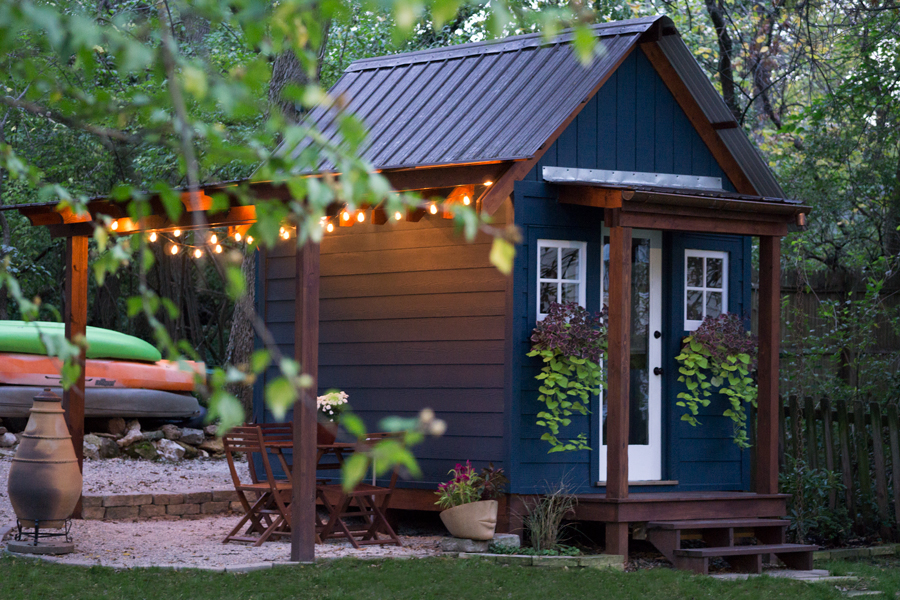
EXTERIOR
FOUNDATION // First, we dug holes, poured footings and used treated posts to create a solid, level foundation.


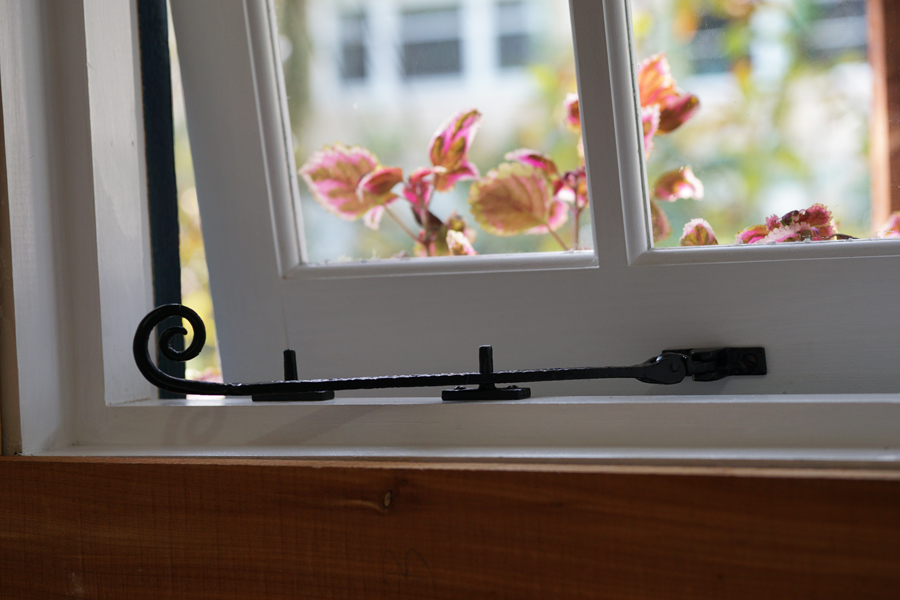
WALLS // After the walls went up, it was time to install the windows and door. We bought the door and side casement window for $50 at Habitat for Humanity ReStore. We used barn sash windows from Menards for the two front windows, built custom framing for them, and added casement stays to provide light and ventilation for when I'm painting.


Fiber-cement siding was paired with vertical slat paneling to finish the exterior. A little trim and corrugated tin roof and before I knew it... that pile of wood in my backyard was a custom art studio!
PAINT & STAIN // The blue siding paint color is called Sailor's Coat and the wood stain is Jarrah Brown.


FRONT PORCH // Another custom feature? This front porch - later adorned with a copper gutter and rain chain.
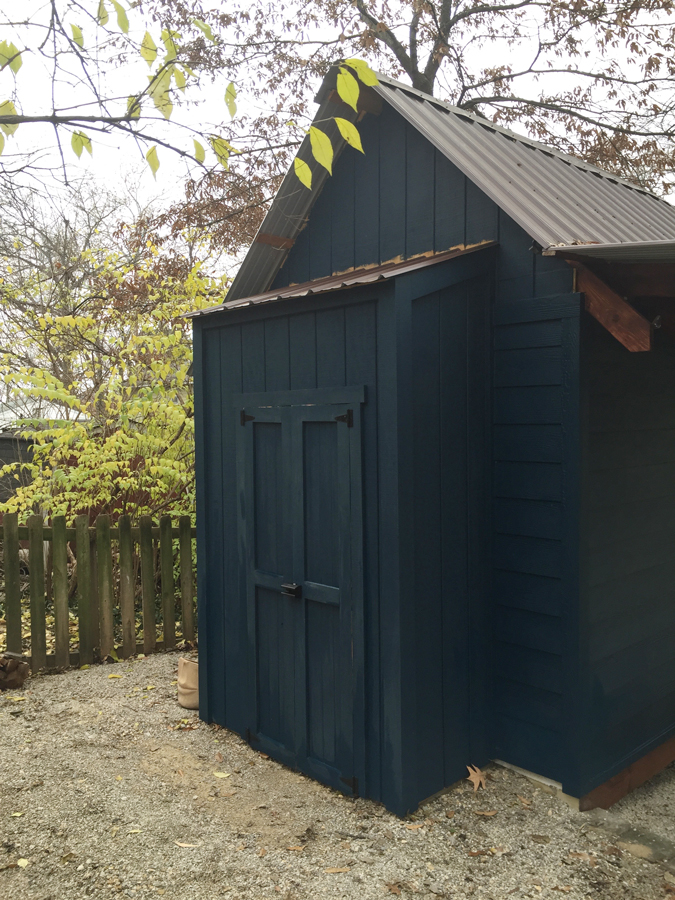
STORAGE CLOSET // We were still needing a storage space for garden tools, etc. so this storage closest was a last minute add-on and a sweet, sweet compromise by my husband for letting me turn his "storage shed" into my art studio.

INTERIOR
FLOORS // My barnwood floors are over 100 years old! They were originally used as siding on a barn that was torn down. I love that they have their own story and we were able to give them a new life. After acquiring the wood, each piece was planed to the same height. Then, using a guide screwed to the back of each piece, the wood was run through a table saw to get a uniform width. Once the tar paper was laid over the subfloor, the pieces were face nailed using hard cut nails to achieve a rustic look.


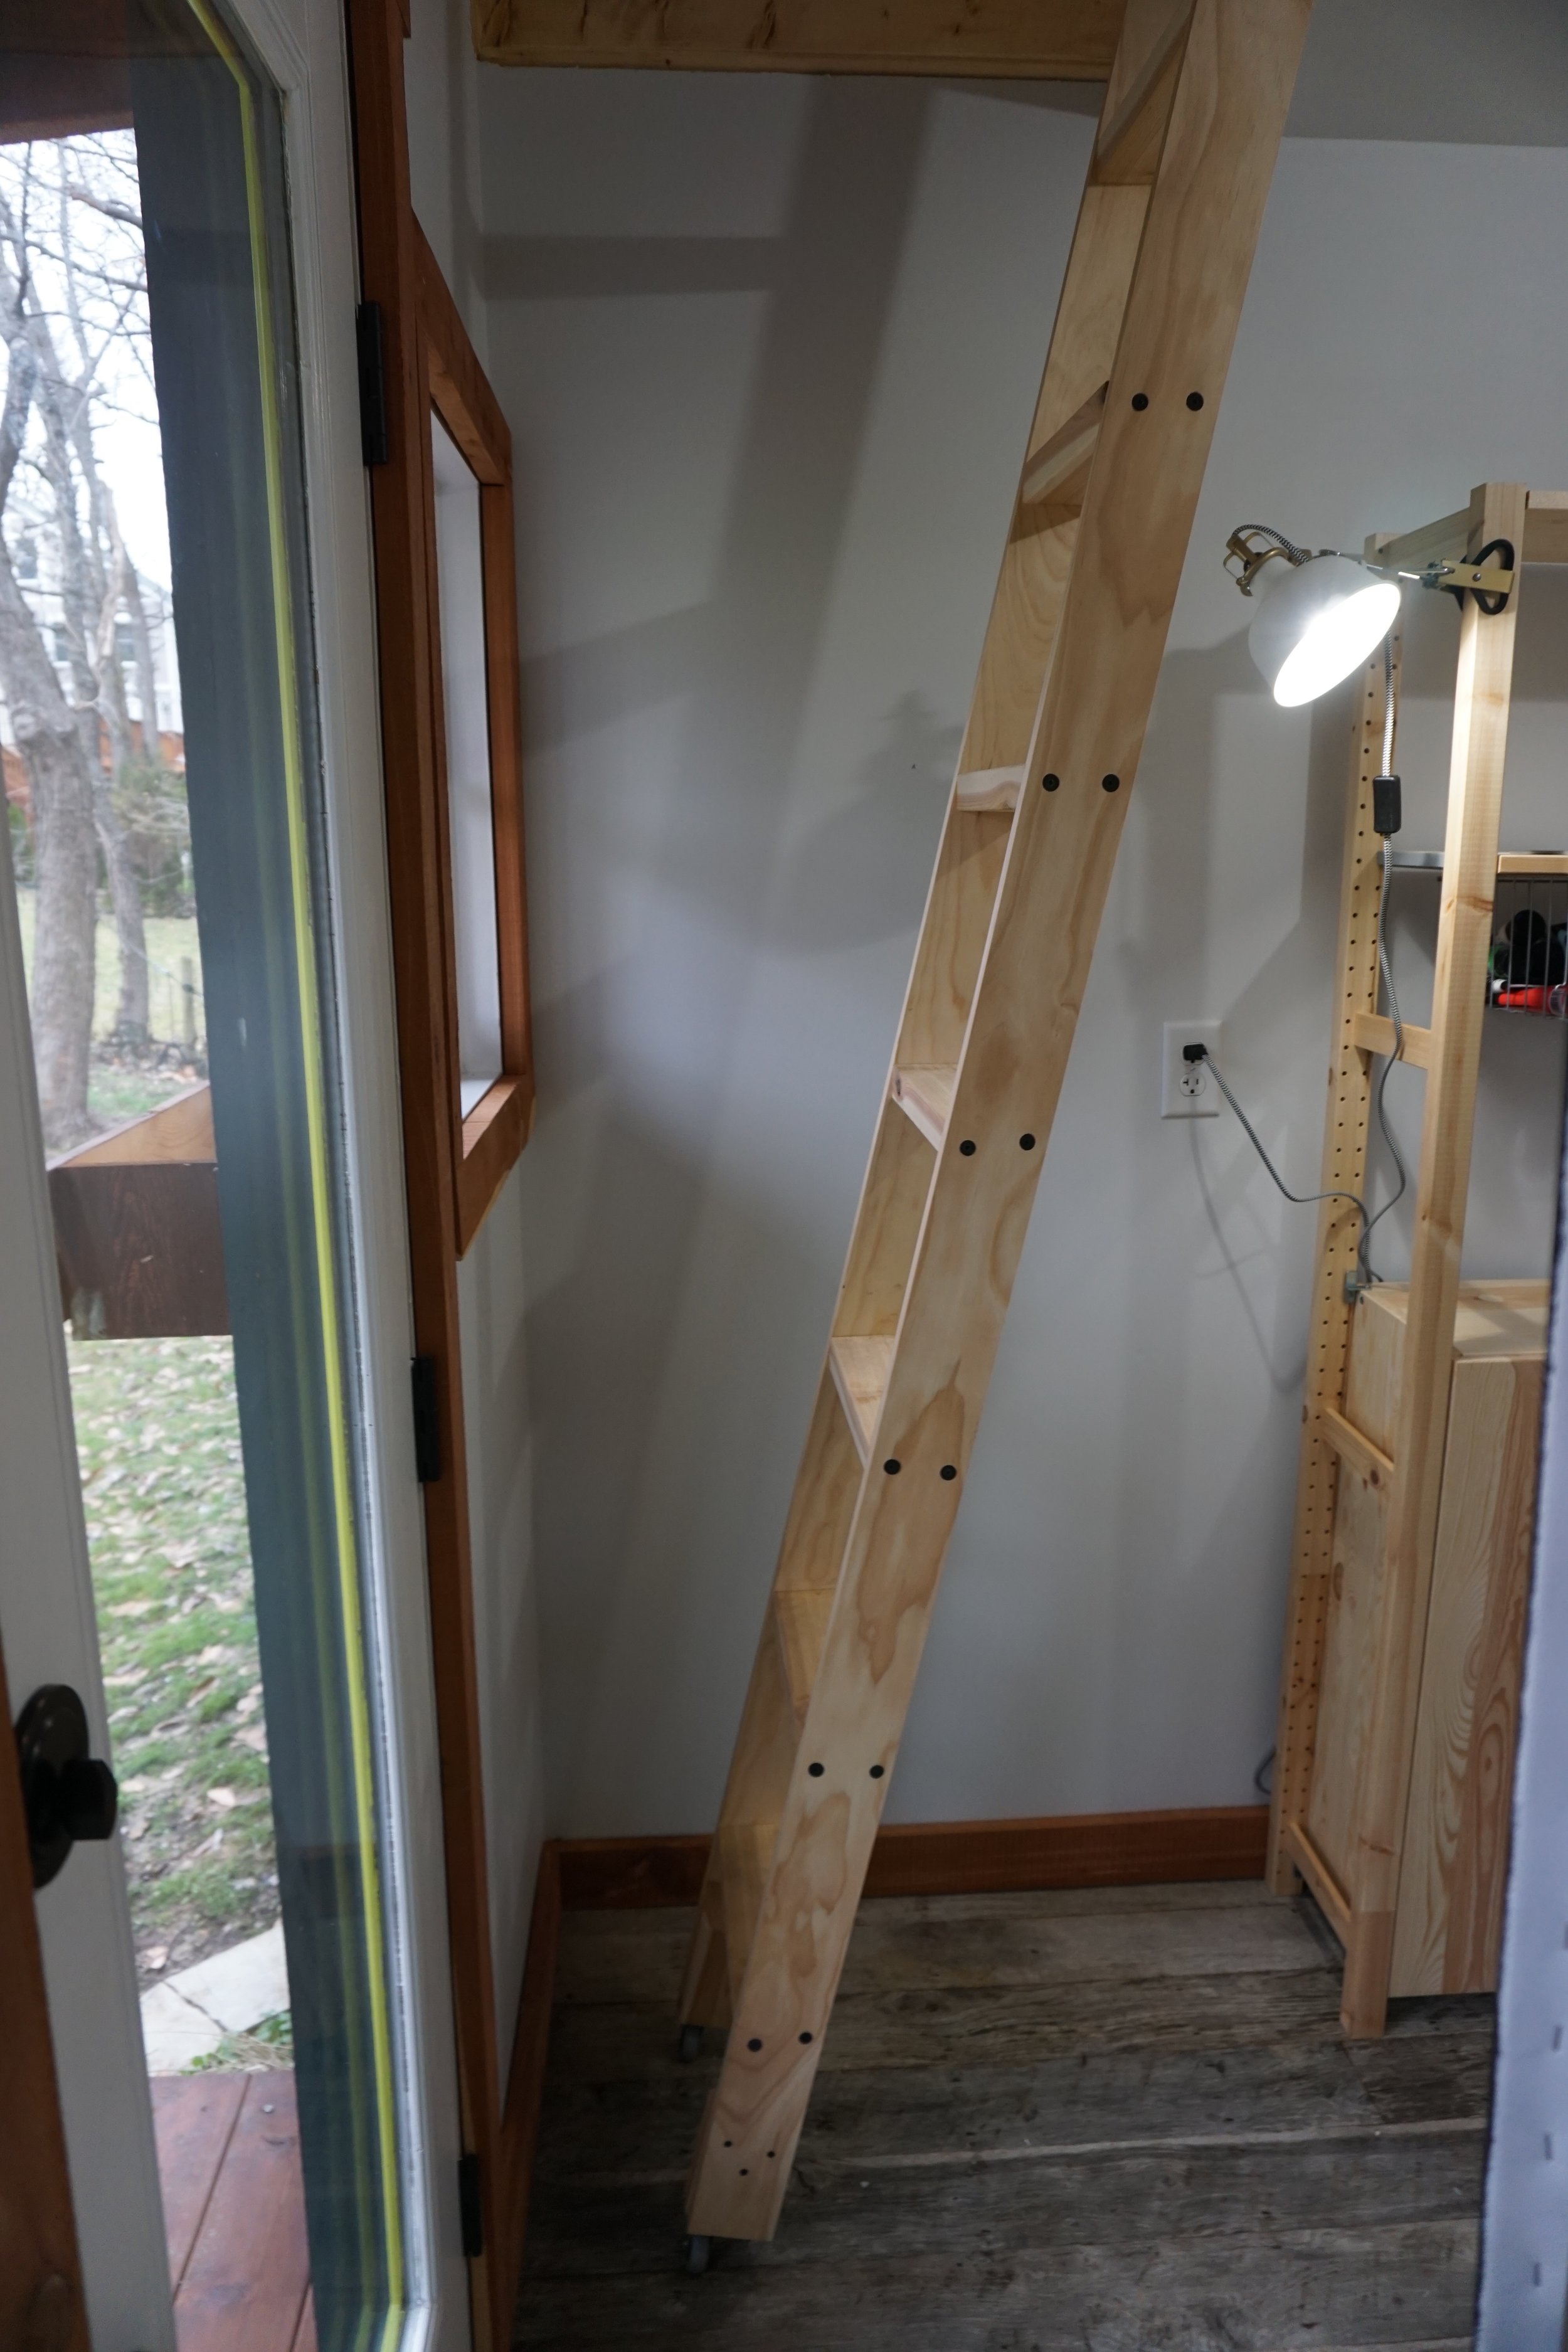
LOFT // This loft is something that was added to the original plans. It has been a multifunctional space for us. We've had out-of-town family sleep here, it's been quiet sketching spot for me and also serves as a storage space for shipping materials and canvases. This sliding ladder was also handmade and custom-fit to the studio.

DRYWALL/INSULATION // After realizing that I would use the space year round, we decided to insulate and sheetrock the interior. During the summer months, I use a small window AC unit, and during the winter, I use an electric radiator. The weather in the area where we live is all over the place so having a space that is comfortable during any season is a huge blessing.


So now, after about a year in the making, I have my own custom backyard art studio and I couldn't be happier and more inspired to create every day.